How to install XFA
There are two ways you'll usually arrive at the installation screen:
- You go to https://web.xfa.tech/installation yourself and click the Download & Install XFA button.
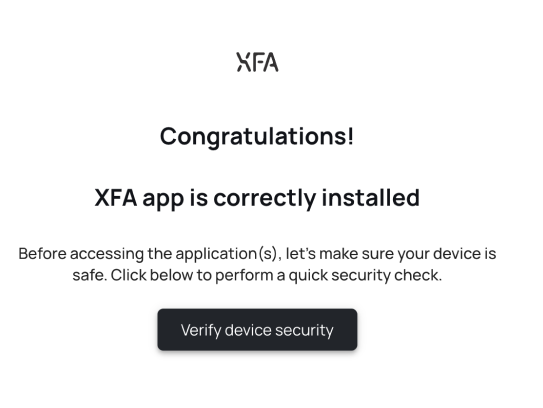
- Your company asks you to verify your device (by email or when you sign in to an application), and you're presented with a screen like the one below.
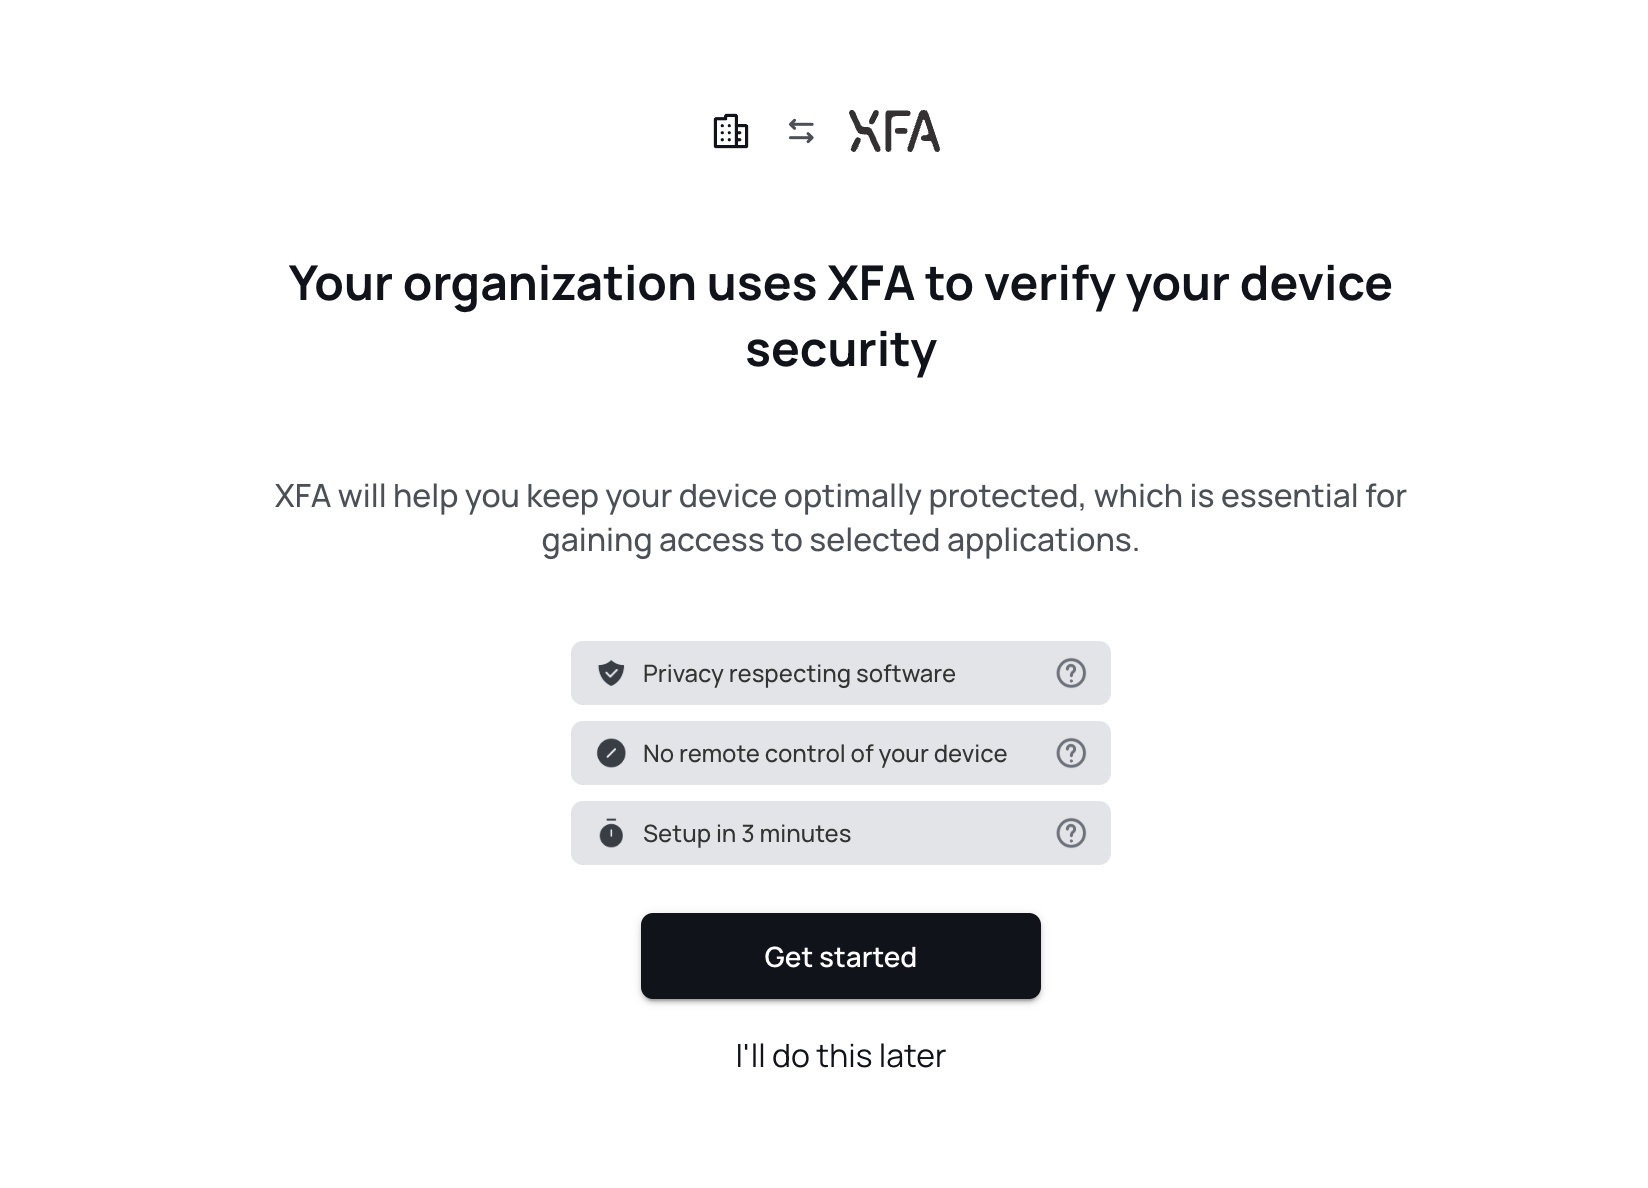
XFA can be installed by anybody in just a couple of minutes and does not require an account or any special permissions. Follow the instructions below for your device type.
For desktop devices (Windows, macOS)
- Click the Download & Install XFA button on the verification screen. Your XFA Desktop Application download will start.
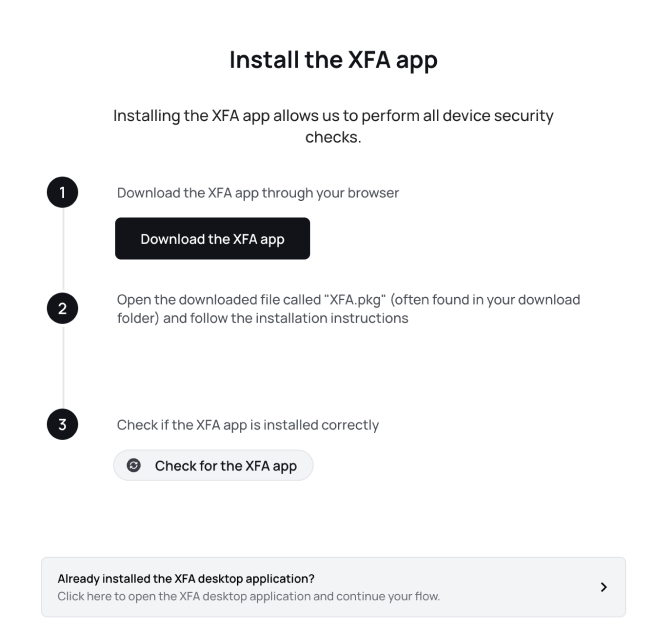
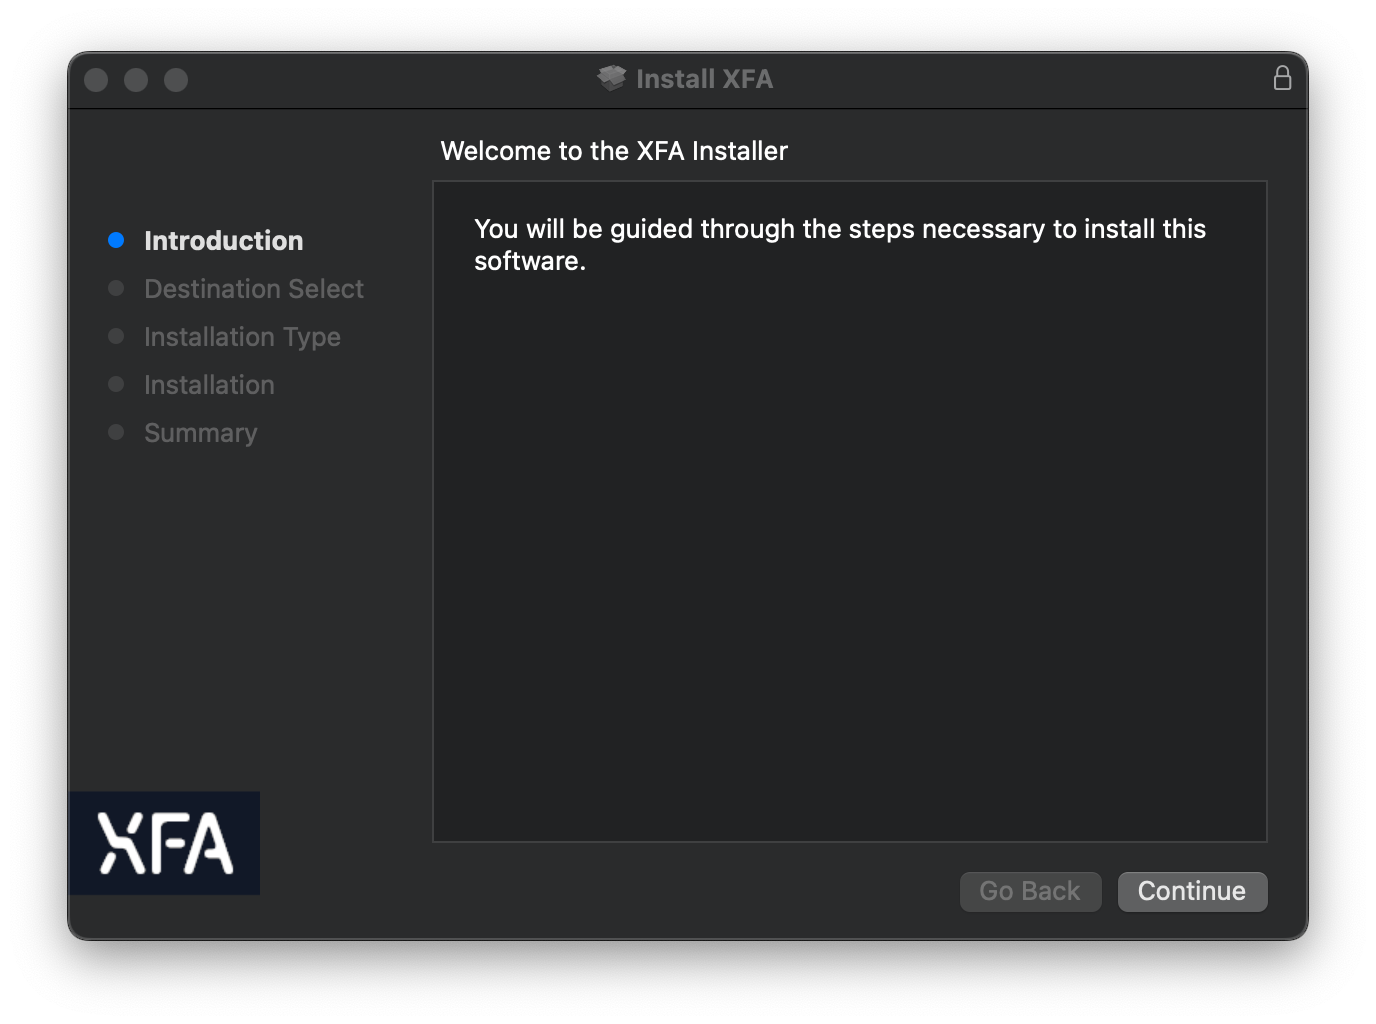
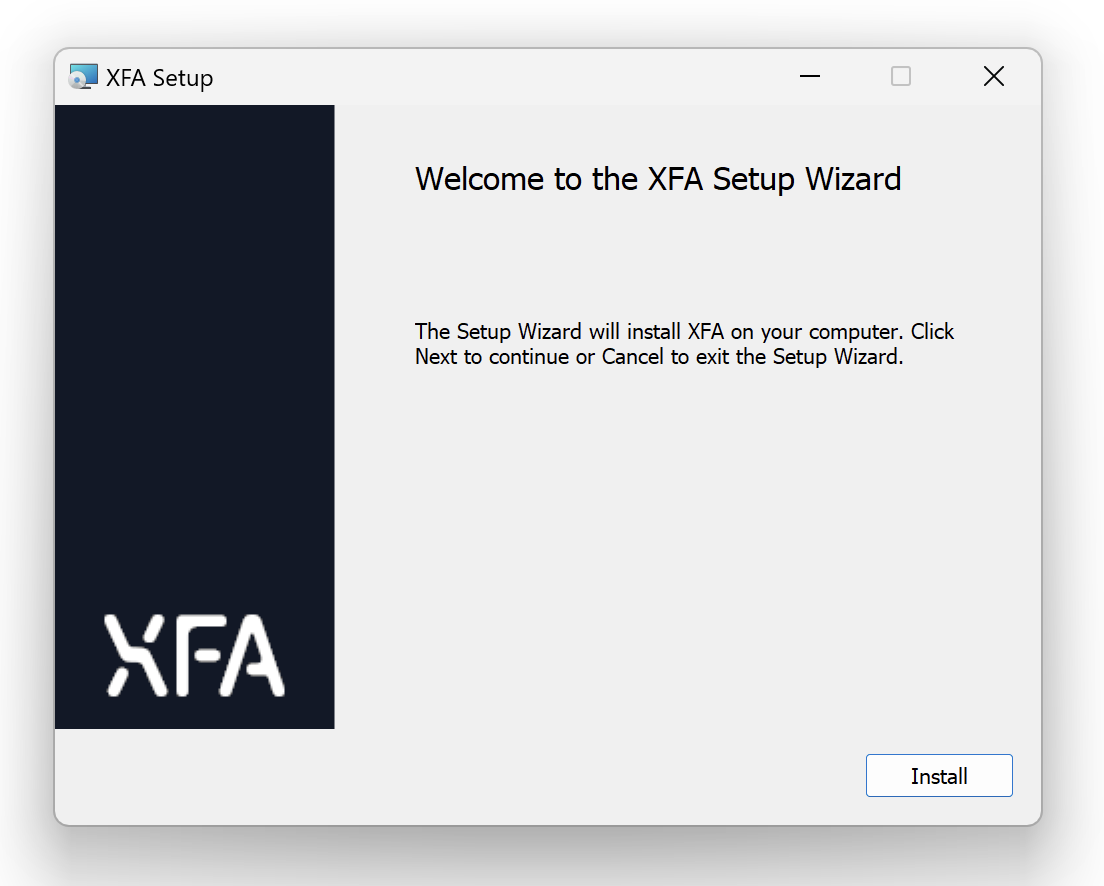
- Open the downloaded file and follow the installation steps, starting with Continue or Install. On Windows, the same installer works on x64 and Arm64 devices, including Arm-based Copilot+ PCs: on Arm64, XFA moves to its native Arm64 version with a later update.
- Go back to the browser tab. You see Checking for the XFA app. Click Connect with XFA so the browser can reach the app.
-
Allow local network access if your browser asks for it.
The sign-in page talks to the XFA app running on your own computer. The first time, recent versions of Chrome, Edge and Firefox ask for Local network access or Apps on device permission. Allow it so the connection can complete. This only lets the page reach the XFA app on your device.
If you blocked the permission, the screen says so. Click the icon to the left of the web address, allow the permission for this site, click Refresh, and then Connect with XFA again.
-
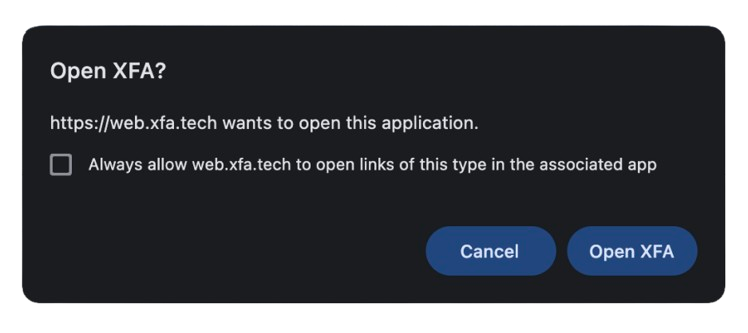
In Safari and Brave, the browser opens the app through an
xfatech://link instead. After you click Connect with XFA, the browser asks whether to open XFA. Allow it, and if the browser offers it, choose to always allow this site so you aren't asked again.
- Once connected, click Verify to finish. If you are also starting to share your device status with your organization, the button reads Verify & Accept.
For Linux devices
Install XFA with one command. It needs no root permissions and works on x86_64 and ARM64. XFA then updates itself. For versions and desktops, see Supported Linux systems.
- On the verification screen, copy the command from the installation card and run it in a terminal:
curl -fsSL https://distribution.xfa.tech/xfa-native-desktop-application/install.sh | sh
-
When the installer finishes, go back to the browser tab and click Connect with XFA.
If your browser asks for Local network access or Apps on device permission, allow it. If you blocked it, click the icon to the left of the web address, allow the permission for this site, then click Refresh.
XFA runs in the system tray. On GNOME, the tray needs the AppIndicator extension. The sections below say what to do on each distribution.
On Ubuntu, Debian and Linux Mint
This also covers Kubuntu, Xubuntu, Pop!_OS, Zorin OS and other distributions based on Ubuntu or Debian.
Ubuntu shows the XFA icon in the tray out of the box. On Debian with GNOME, install the gnome-shell-extension-appindicator package and turn the extension on.
If your organization checks automatic OS updates, install unattended-upgrades and turn it on.
On Fedora, Silverblue and Kinoite
This also covers Fedora KDE Plasma Desktop and the other Fedora editions and spins.
On Fedora Workstation and Silverblue, which use GNOME, install the gnome-shell-extension-appindicator package and turn the extension on. Fedora KDE Plasma Desktop and Kinoite show the XFA icon out of the box.
On Arch Linux, CachyOS and Manjaro
This also covers EndeavourOS and other distributions based on Arch Linux.
On GNOME, install the gnome-shell-extension-appindicator package and turn the extension on. Optionally, install arch-audit so that XFA checks for known security issues instead of the time since your last update.
On NixOS
Use the same command. It installs XFA into your own nix profile, without root permissions or changes to your nix settings. If your system configuration already installs XFA, the command says so and changes nothing.
On GNOME, add pkgs.gnomeExtensions.appindicator to environment.systemPackages and turn the extension on.
Install XFA through the system configuration
If you manage NixOS devices centrally, you can install XFA for every person on a device through the system configuration. XFA then updates with the system instead of by itself. If someone installed XFA on the device with the command, have them run xfa uninstall first.
- Add XFA to the inputs of your system flake (
flake.nix):
inputs.xfa.url = "https://distribution.xfa.tech/xfa-native-desktop-application/nix/xfa.tar.gz";
inputs.xfa.inputs.nixpkgs.follows = "nixpkgs";
- Add the package to your NixOS configuration:
environment.systemPackages = [ inputs.xfa.packages.${pkgs.stdenv.hostPlatform.system}.default ];
Your NixOS configuration needs the flake inputs for this line: pass them to your modules with specialArgs = { inherit inputs; }; in nixpkgs.lib.nixosSystem, and add inputs to the module arguments.
To install XFA for one person only, add it to users.users.<name>.packages instead. If you use home-manager as a NixOS module, set home-manager.useUserPackages = true.
- Rebuild your system:
sudo nixos-rebuild switch
-
Run
xfaonce in a terminal, signed in as the person who uses the device. -
Go back to the browser tab and click Connect with XFA.
If your system uses configuration.nix
If your system has no flake.nix, add this to configuration.nix instead of steps 1 and 2. The module needs lib in its arguments, for example { config, pkgs, lib, ... }.
environment.systemPackages = [
  (pkgs.callPackage (builtins.fetchTarball
    "https://distribution.xfa.tech/xfa-native-desktop-application/nix/xfa.tar.gz") { })
];
nixpkgs.config.allowUnfreePredicate = pkg: lib.getName pkg == "xfa";
Then continue with steps 3 to 5.
To update XFA, see How to update XFA.
For mobile devices (iOS, Android)
- Click Download the XFA app on the screen, or search for XFA in the App Store or Google Play Store.
- Go back to the verification screen to finish verifying your device.